Turn pixels into
editable 3D geometry.
Cut and extrude textures on your existing model, or build a new item from an image. Control depth, transparency and corner connections in a workflow made for pixel art and stylized assets.
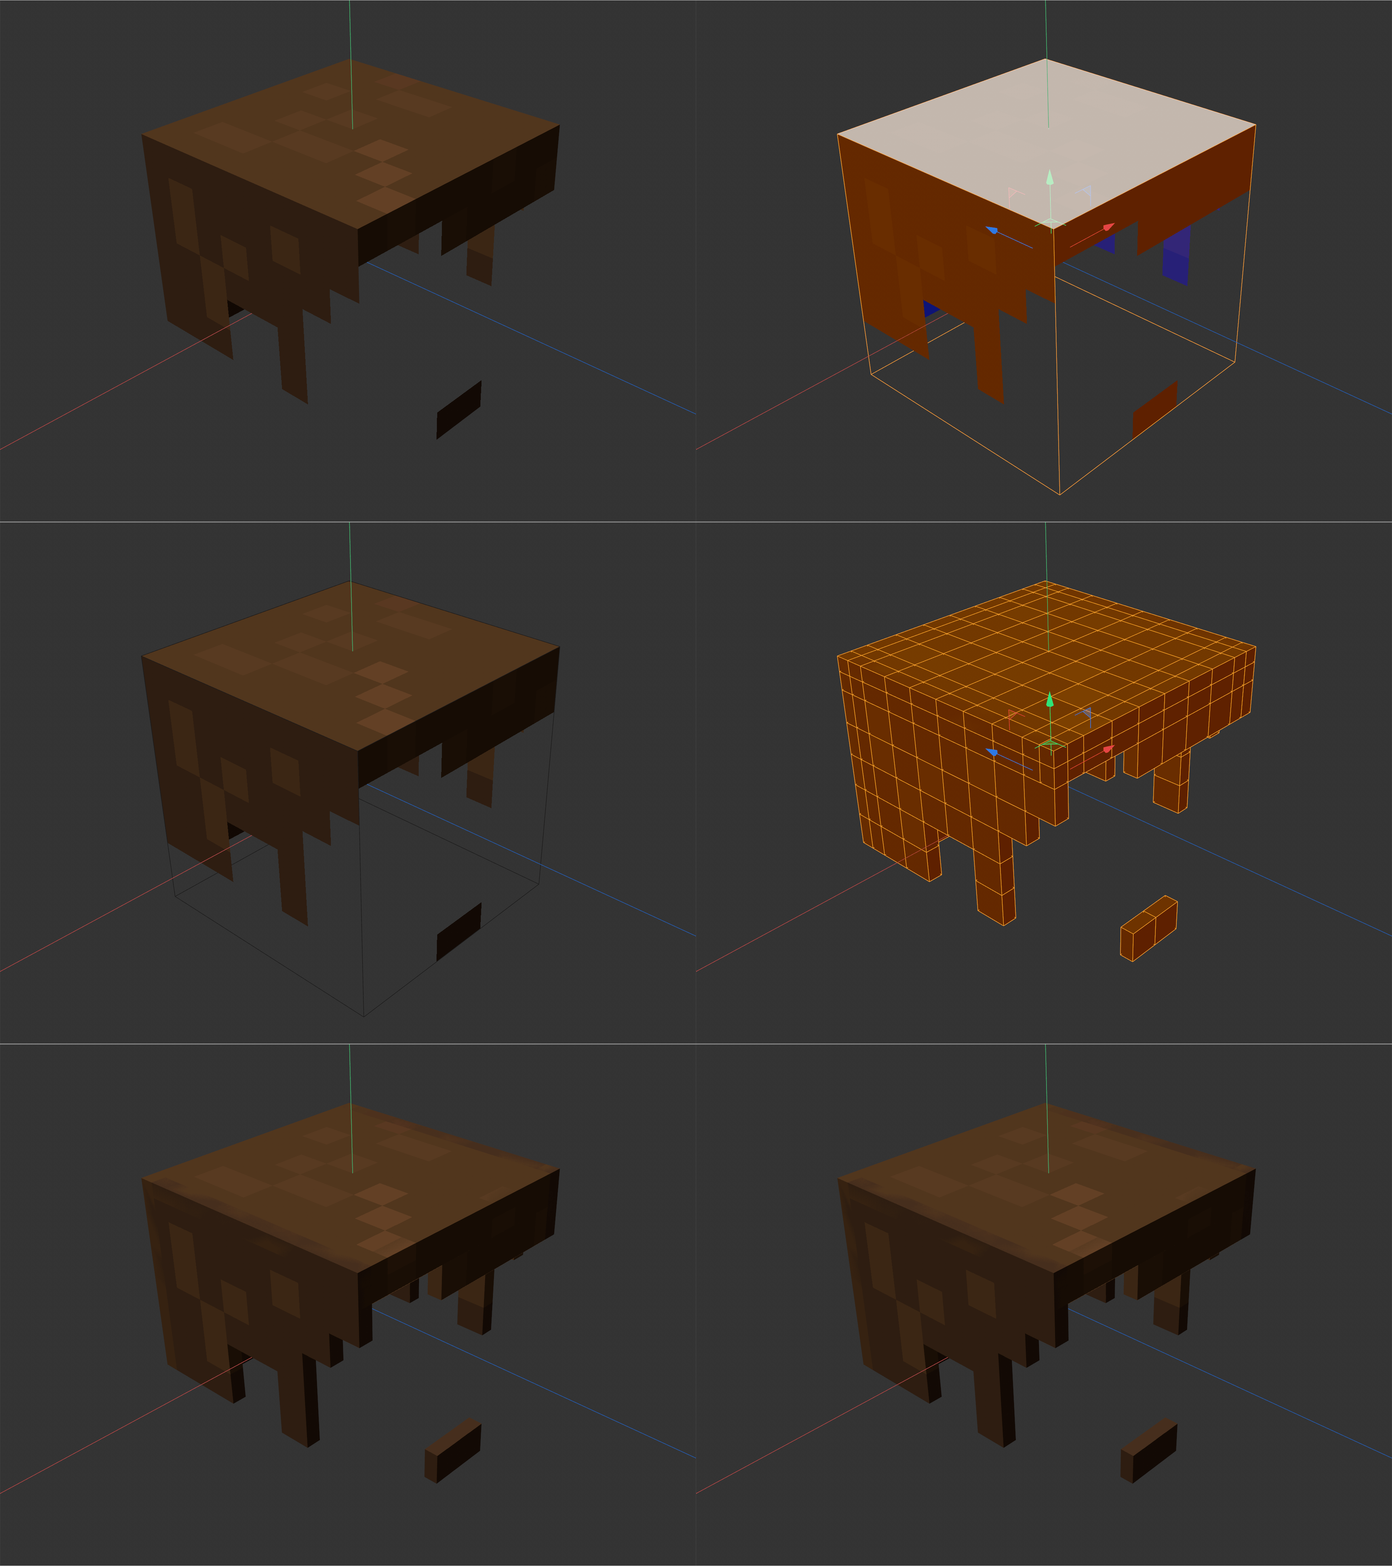
Two starting points. More room to create.
Your texture already defines the details. PolyBit404 turns those pixels into cutouts and volume inside Cinema 4D, reducing the work of building each cell by hand. Start with a textured model or an image, and choose which pixels become geometry and how much depth to give them.
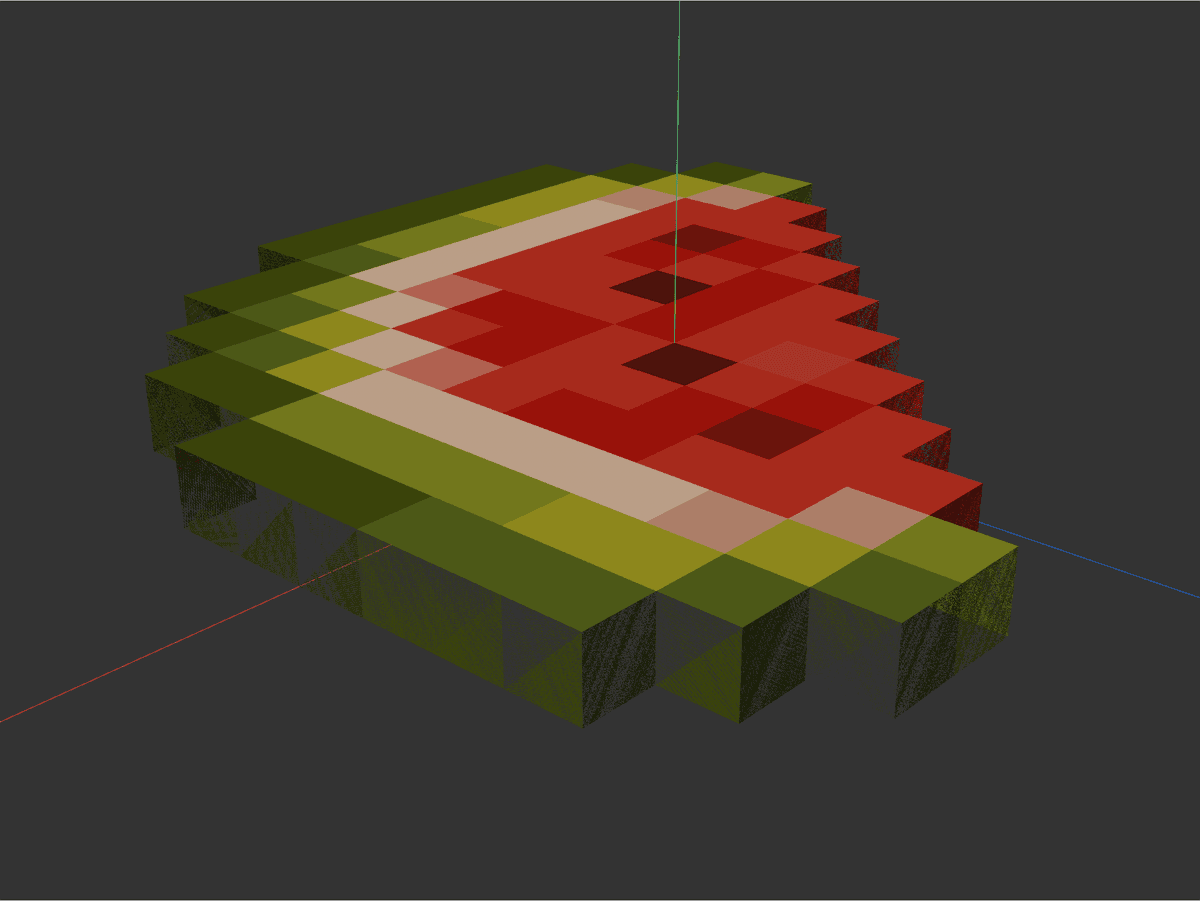
Texture bleeding on the side walls. Colors blurred across pixel edges. Manual UV surgery required.
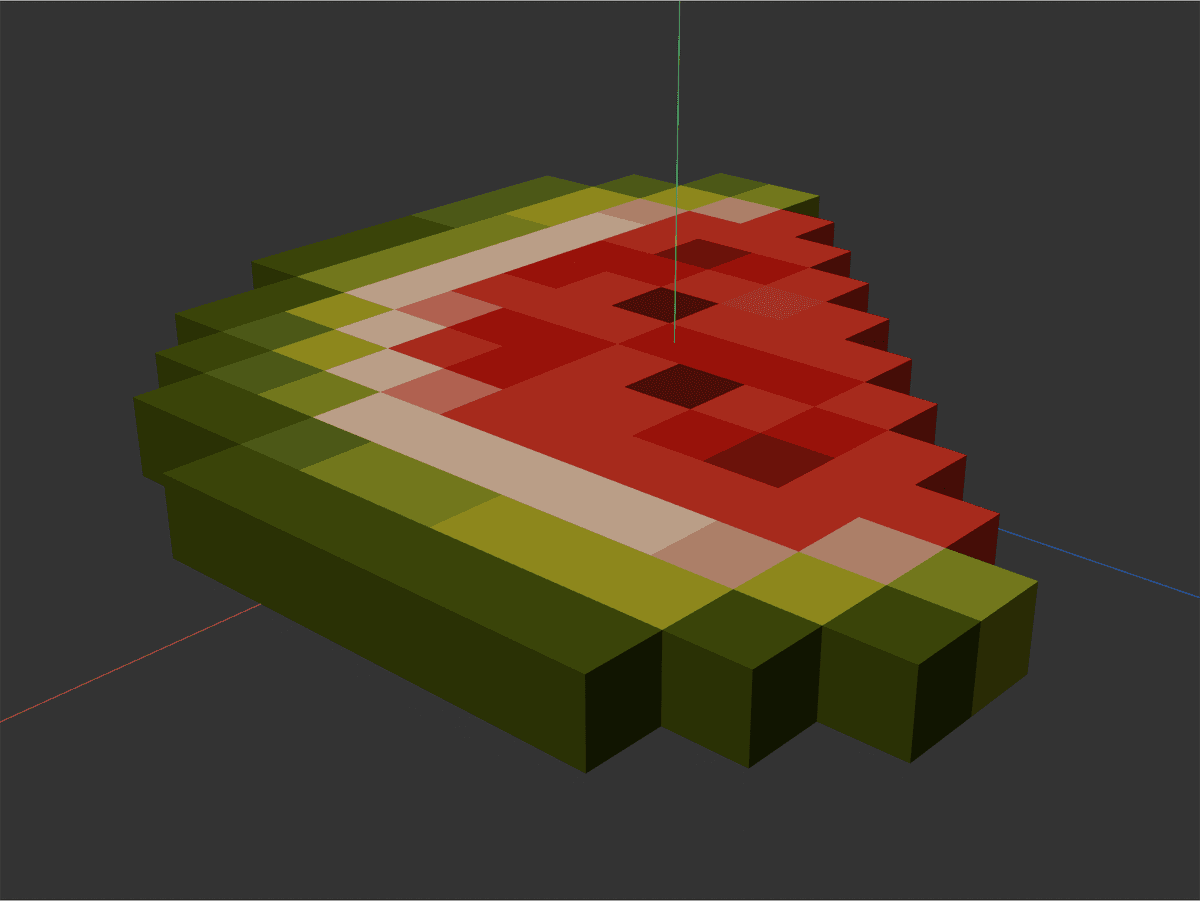
Every pixel pinned to its exact UV center. Clean side walls. No bleed. Ready to render.
Settings that fit your
workflow
Precise depth
Type directly into the number field. Enable Snap to step through 0.78125, 1.5625, 3.125, 6.25, 12.5, 25, 50 and 100. Disable it for free depth input.
Choose what stays
Use alpha, luminance or all pixels. Adjust Threshold to decide which pixels become geometry.
More control over color
Pixel-focused UVs and bitmap filtering controls help reduce color bleeding at cell edges.
Editable results
Create N-gons where appropriate and continue modeling in Cinema 4D.
One command. One Undo step.
Undo a completed operation with Ctrl+Z. To try another depth on the same input, undo before applying again.
Feedback inside the panel
Read the result without a completion popup. Tools & Log gives you detailed reports, point welding and diagnostics.
One plugin. Two workflows.
Pick the one that matches your scene — or use both in the same project.
Texture Extrude
Give your texture depth and keep working on the same object. Select a layer or model, set the depth and apply: PolyBit404 cuts the surface from its texture and updates the original object, retaining its name, hierarchy and texture tags.
- → Process several selected objects or focus on selected polygons
- → Disable extrusion when all you need is the cutout
- → Join adjacent faces connects compatible neighboring extruded regions
- → Square cut ends gives straight exposed ends at supported convex corners
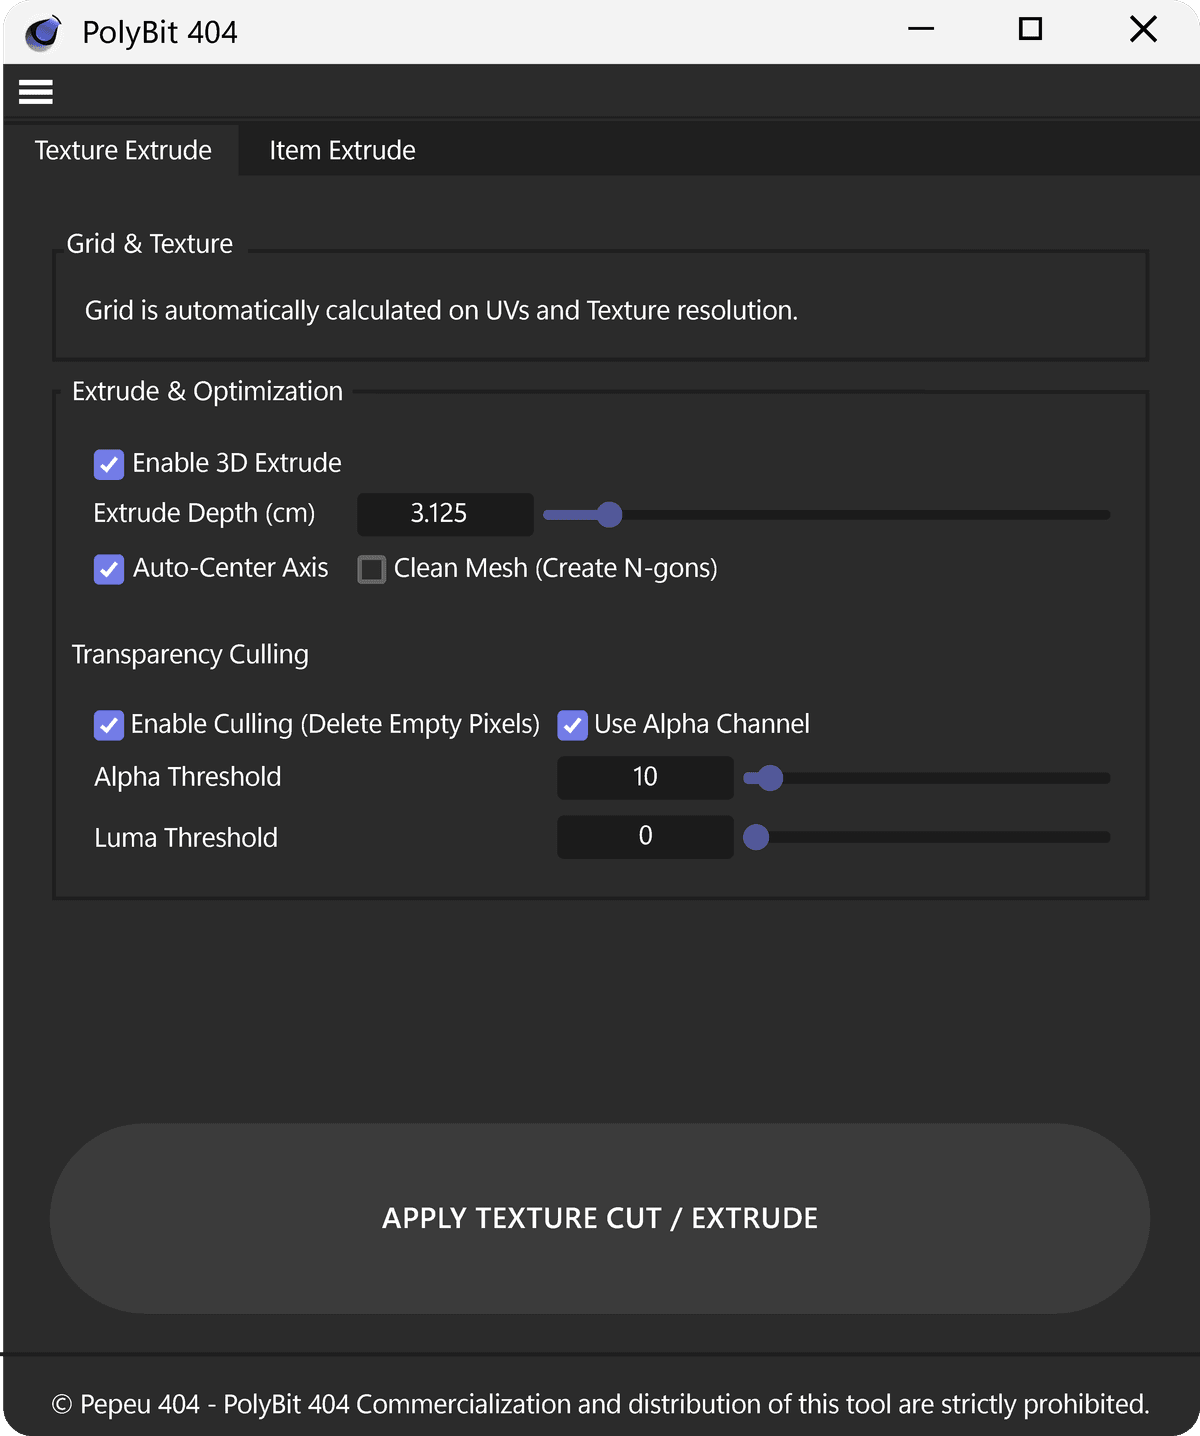
Item Extrude
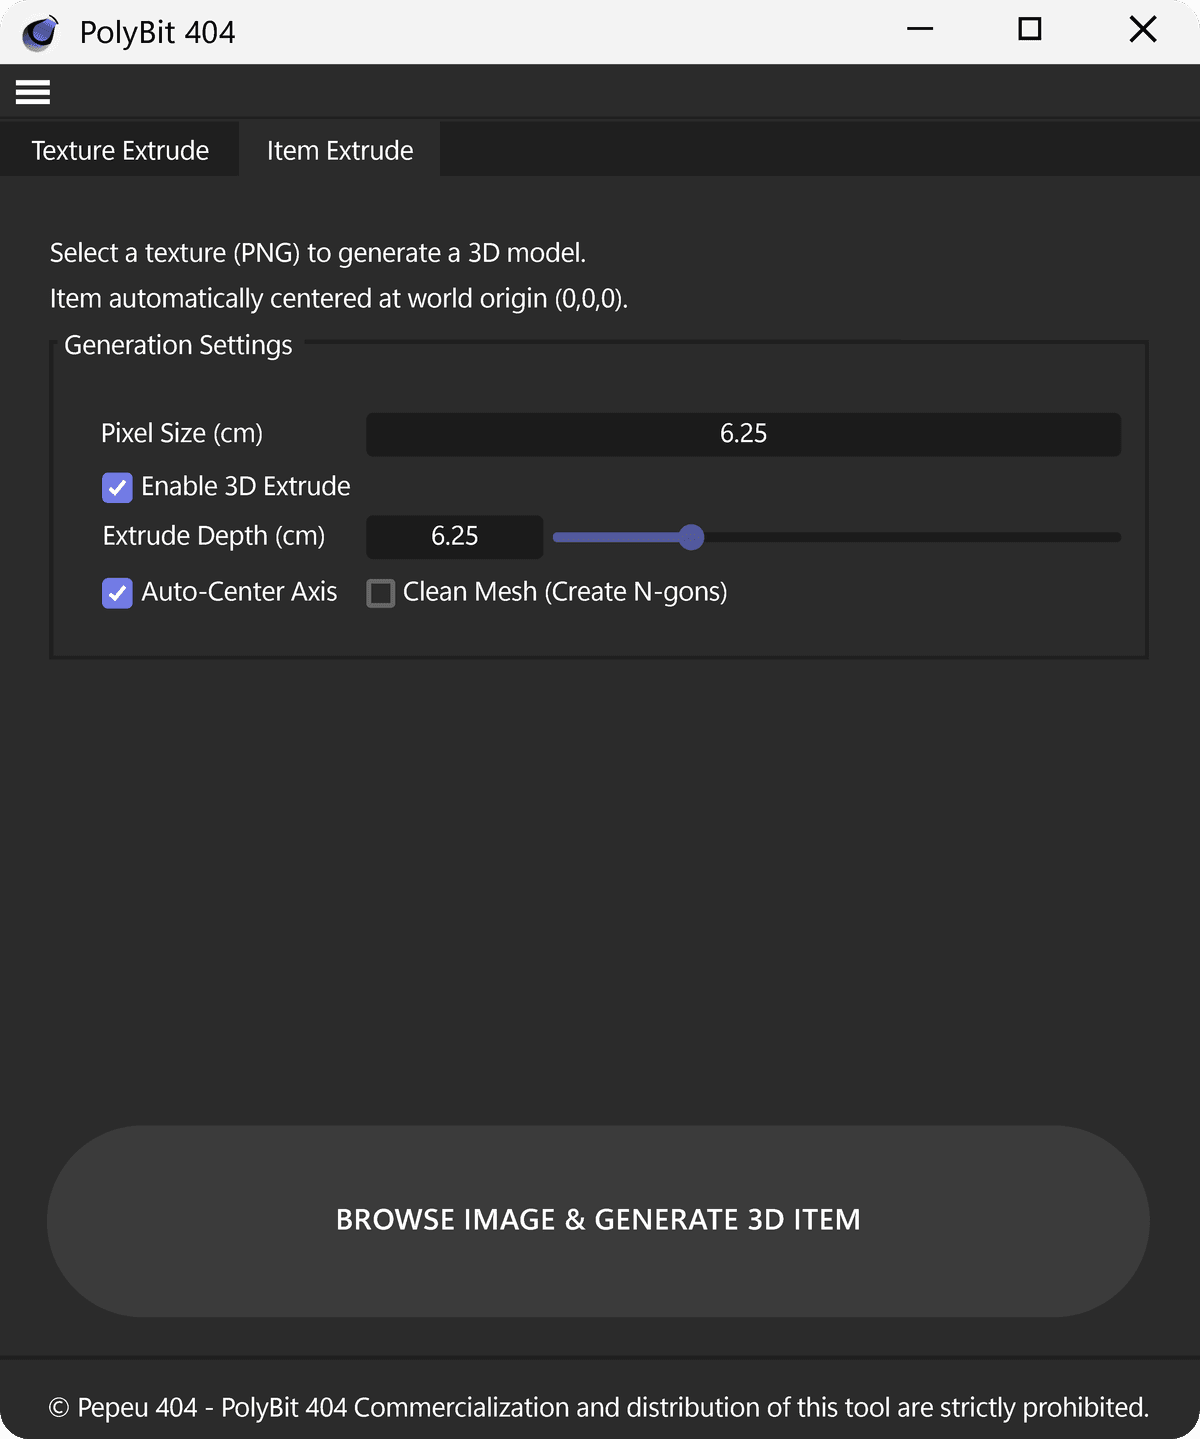
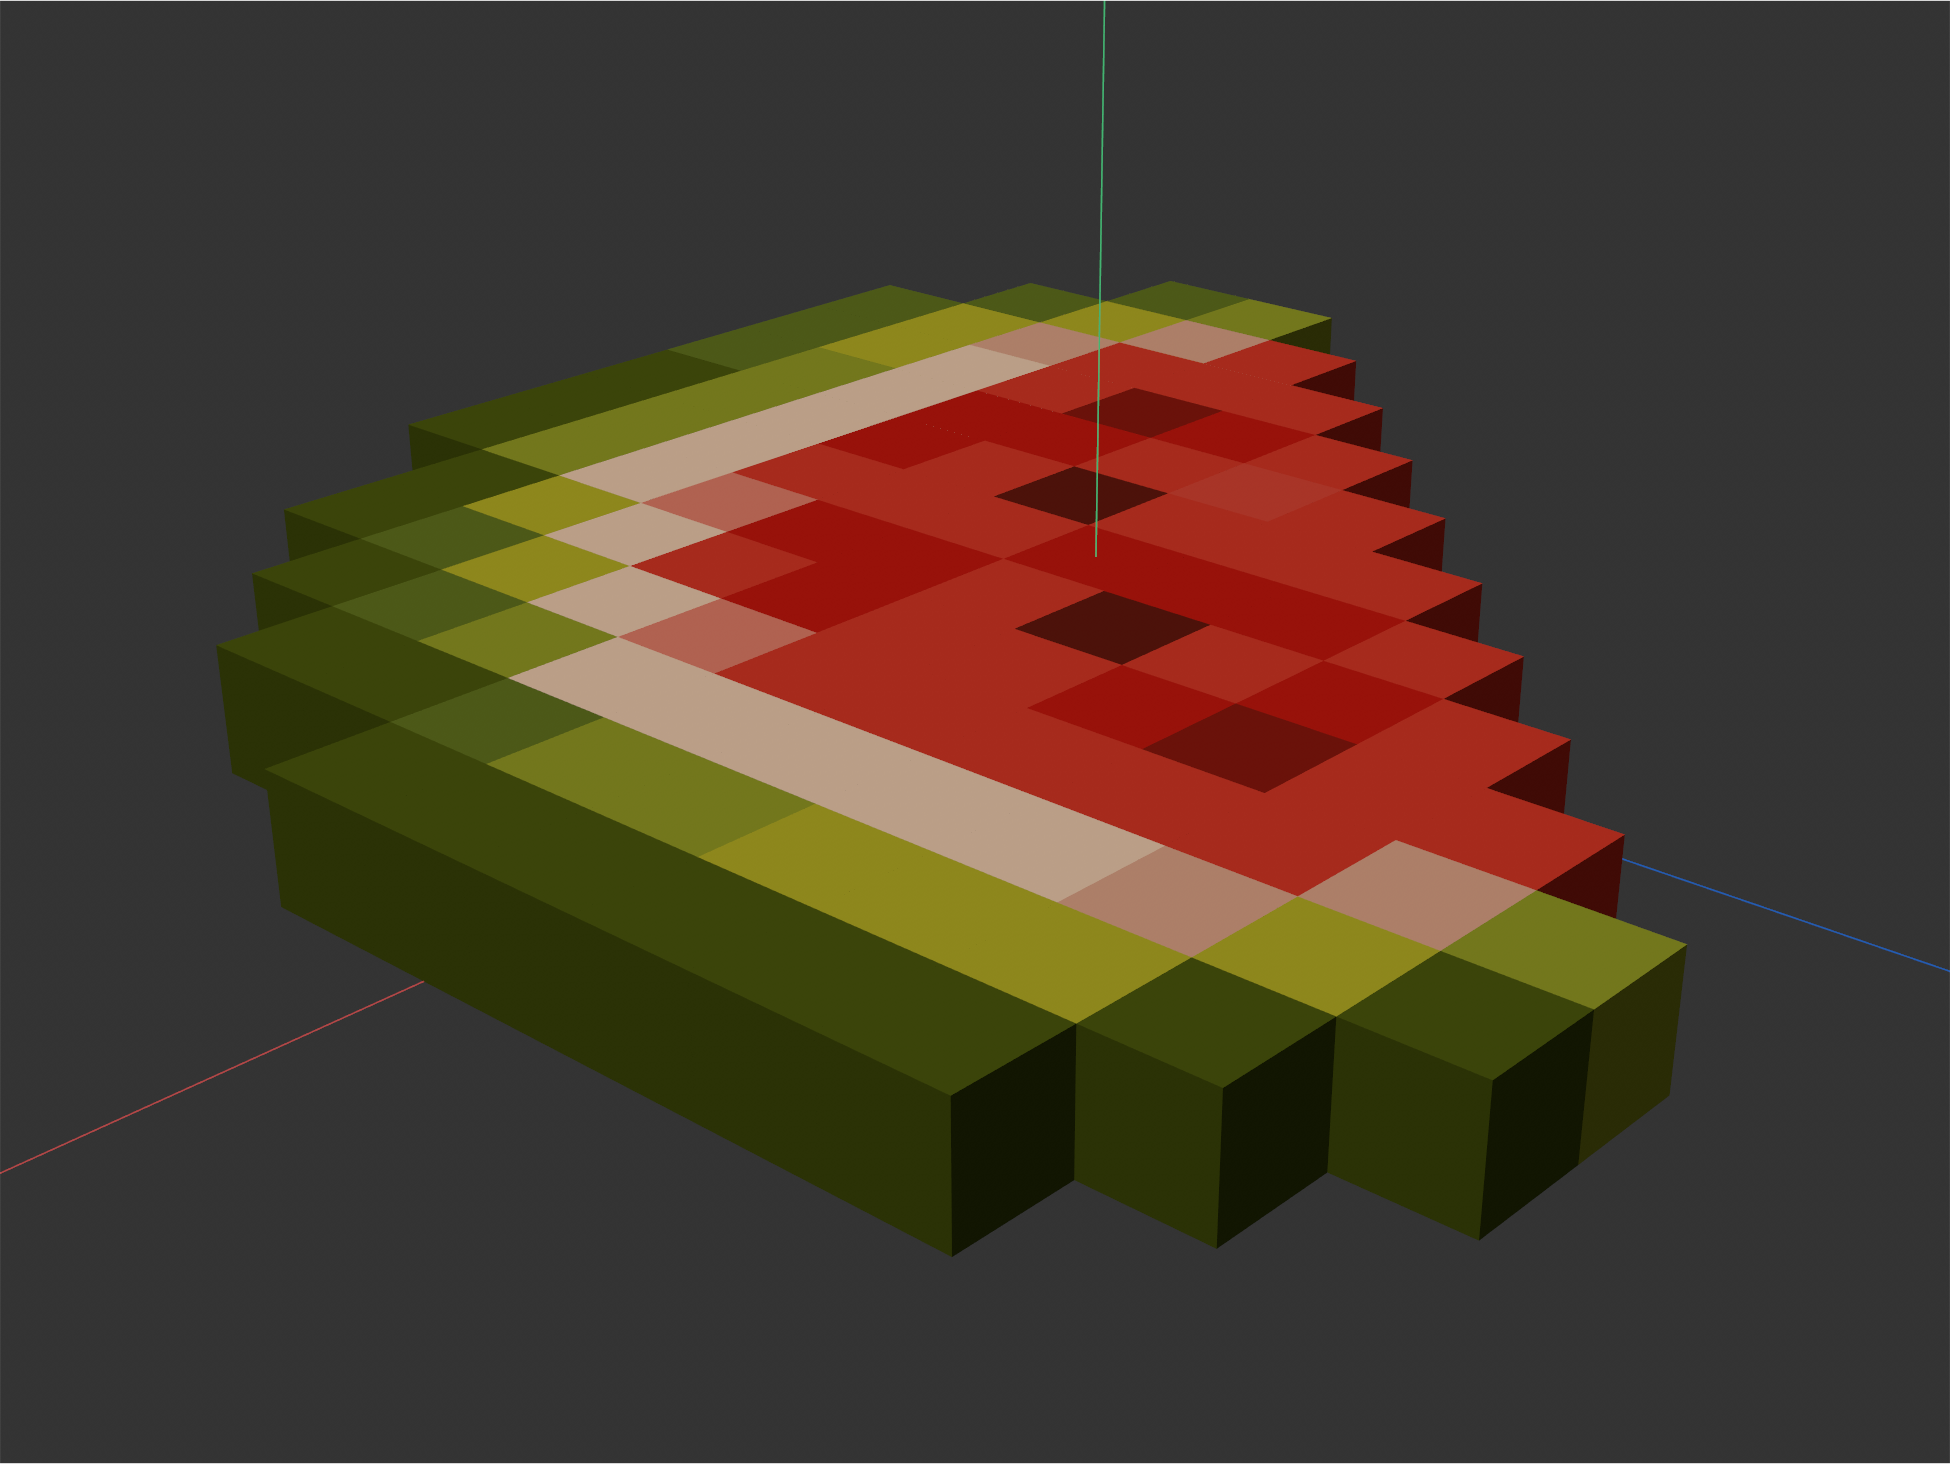
From an image to your next asset. Choose an image and turn its silhouette into an editable mesh with a material and UVs. Set the size of each pixel, choose the thickness and center the result at the world origin when needed.
- → Inventory items, props, icons, lettering and other pixel-art elements with depth
- → Turn extrusion off to create a flat cutout instead
- → Use your own image dimensions and UV layouts — Minecraft skins are one application, not the only one
Ship-ready meshes.
Right out of the box.
From textured layer to raised detail, on the same object.
Control the face connections and the shape of exposed ends.
How it
works
- 01
Prepare the input
Select a polygon model with suitable UVs and a supported material, or start with an image.
- 02
Choose the result
Set depth, transparency and geometry options.
- 03
Apply and keep creating
Generate the mesh, inspect the result and continue editing in Cinema 4D.
Lifetime access.
No subscriptions.
One-time payment · Lifetime updates · Personal & commercial use
- ✓ Demonstrated environment: Cinema 4D 2025.3.3 on Windows. Other versions and macOS have not been validated for this edition.
- ✓ Texture Extrude uses editable polygon objects, one UVW Tag per object and a Standard material with a direct Bitmap in Color.
- ✓ Node materials and procedural shaders require preparation or conversion.
- ✓ PNG with alpha is recommended for image cutouts. Item generation accepts images with up to 1,100,000 pixels.
- ✓ Cinema 4D is not included. See the tutorial for requirements and limits.
📋 Refund & Warranty Policy▾
Digital product with instant delivery. All sales are final once the file has been accessed or downloaded. Technical refunds available for corrupted files or declared compatibility failures, within 14 days of purchase. Full policy at pepeu404.com/refund-policy.
Instant download · Secure checkout
Frequently asked.
Does it duplicate my model?▾
Texture Extrude edits the original object. Item Extrude creates a new object from your chosen image.
Can I cut without adding thickness?▾
Yes. Disable Extrusion to generate a cutout without extra thickness.
Is it only for Minecraft skins?▾
No. It uses your geometry, UVs and images. It does not require skin-specific coordinates or a square atlas.
Can I use JPEG or an image without transparency?▾
Yes, when Cinema 4D can read the bitmap. Without alpha, fallback mode uses brightness and can remove dark pixels. Use All pixels to keep every color or prepare a suitable mask.
Can I process a rigged character?▾
Prepare the mesh before rigging and weight painting. Data tied to point and edge indices can prevent processing. See the tutorial for inputs that require baking or preparation.
Will every corner join automatically?▾
Joining depends on the faces and depth. Square cut ends handles supported convex corners; it is not a general Boolean operation.
Can I sell the assets I create?▾
Yes. The license permits personal projects, commercial work and sales of generated assets, provided you have the necessary rights to the source content. Redistribution of the plugin itself is not permitted.
What does the license cover?▾
One person may use their copy on their own computers. It is not a shared team license. See the full license for the terms.
Give your next idea some depth.
📋 Refund & Warranty Policy▾
Digital product with instant delivery. All sales are final once the file has been accessed or downloaded. Technical refunds available for corrupted files or declared compatibility failures, within 14 days of purchase. Full policy at pepeu404.com/refund-policy.